
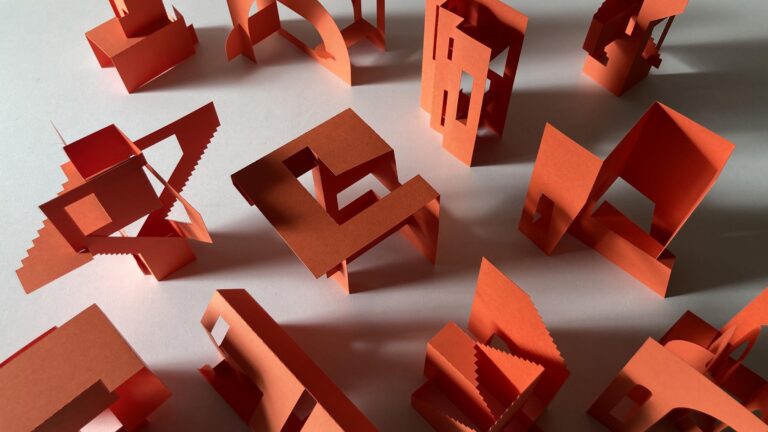
DIY Cut and Fold Paper Set A significant part of my traditional artistic practice involves sculpting...
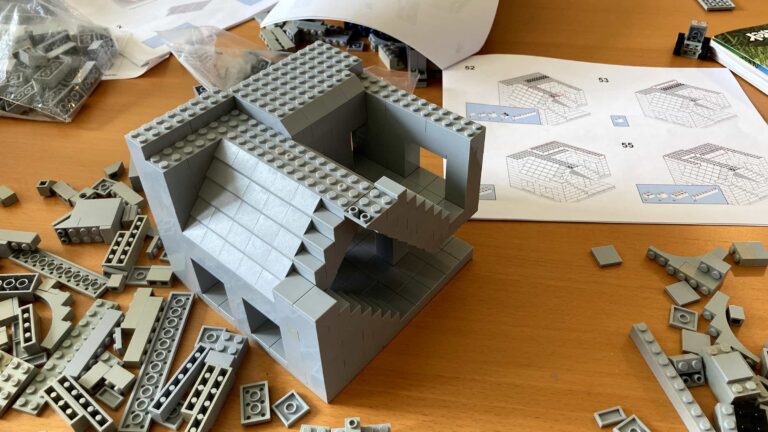
From concrete to toy bricks Step by step instructions / 9 model Set During the confinement days, my 7-year-old...
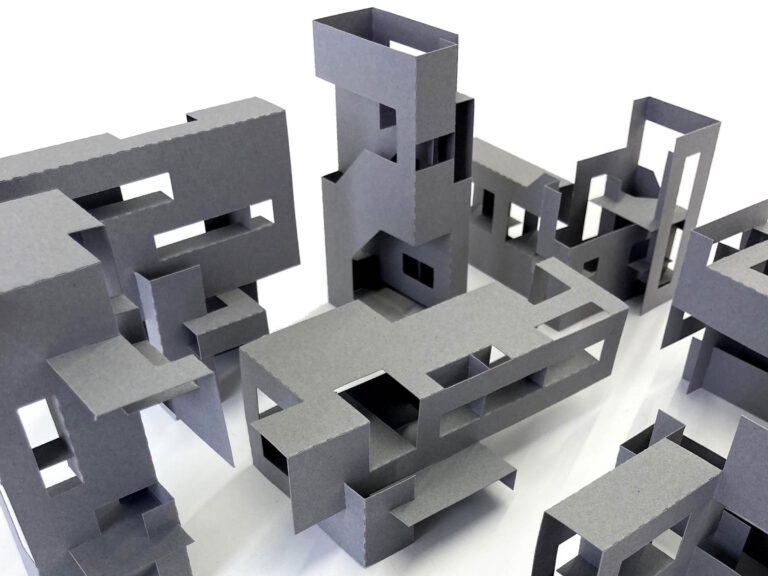
DIY Cut and Fold Paper Set This series comprises 8 paper models inspired by mid-century modern architecture....
27 Responses
Very cool!
Thanks Nathalie
Thanks you for this!! I really love your work, and the fact that you share your knowledge with us is amazing. Much love
My pleasure Laura !
Thank you very much for sharing your knowledge.
You’re very welcome Keter !
Thanks so much for sharing.
What material do you prefer for a mold?
Hi Ezra,
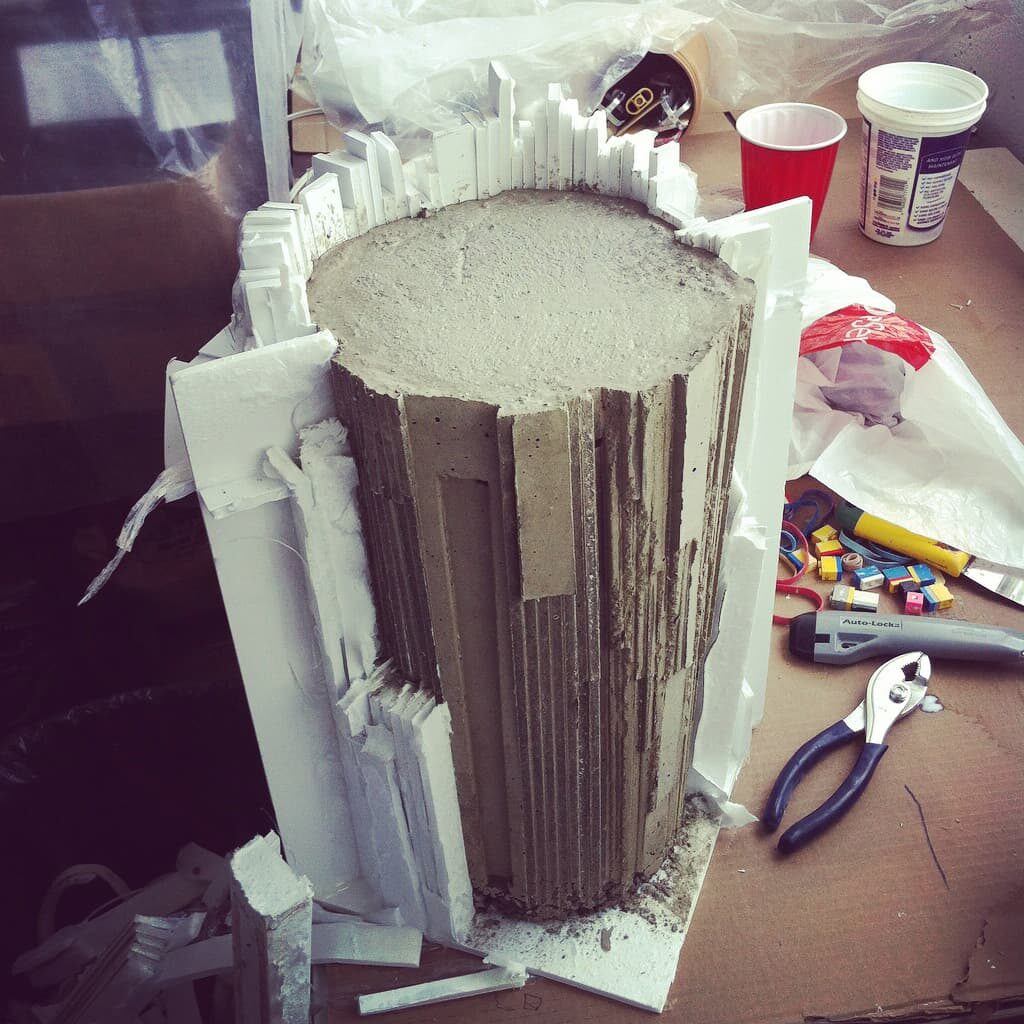
These days I mostly use extrude polystyrene, but I may get back to urethane rubber.
I’ll make a few posts about my molds in the upcoming weeks. Stay tuned
Best
Hi David,
Thank you for sharing!!
Have you ever used jesmonite for casting?
And do you need any reinforcement for the concrete casting?
Best,
Yuval
Ohh, just googled Jesmonite, didn’t know about it. I might have to try it, thanks for the tip!
As for reinforcement, not at the scale I’m working.
Thanks Yuval
Amazing! Thanks so much for your tutorial!!
What type of concrete do you use, is there a specific brand or product that results in the smooth finishes that you get?
Thanks,
Jason
Hi Jason, I really like SIKA brand.
I’ve tried a few products and I mostly use their self compacting concrete mixes. Cheers
Hi David,
Thank you for sharing and I find your work inspiring. I’m a research student doing my MA in Fine Art. Do you use an eco brand concrete mix, as sustainability is a big topic?
Regards
Blair
Hi Blair, thank you very much! I am not aware of eco-friendly brands (in Canada), but I’d definitely switch if I had the option. If you find any please share it here! All the best
Hello David
Thank you very much for sharing your concrete casting . I’m really enjoying following your wonderful work on ig. As a maker myself it’s great to see a little bit behind the scenes. I work with glass casting and I love the idea of combining glass with concrete. I tried a couple of tiny casts in concrete left over from making the plinth for my workshop. Reading what you’ve shared inspires me to have another go! Many thanks Angela
Hi Angela, thank you very much for your feedback, it’s really appreciated! I have just looked at your work http://www.angelathwaites.com
It’s beautiful. I myself tried a glass casting class a few years ago and it was one of my most exciting (and scary) art experimentation. Scooping magma with a big spoon in sand molds was definitely out of my comfort zone. Glass by nature is made of sand so I find there’s a very natural connexion between concrete and glass. I’ll make sure to follow your journey in arts. All the best
Hi, David.
Thank you so much for sharing your process, and (as I read in the comments) for what you are going to share in the near future.
I have two questions.
¿Do you apply some sort of de-molder to make your unmolding easier? If you do ¿which one do you use?
¿How do you cut the extruded polystyrene?
All the best from Mexico City
Hi Fernando, thanks for reading and for your questions, I really appreciate! Extruded polystyrene doesn’t stick too much so I don’t use demolder, although I should probably do… I have tried a few times using cooking spray oil (in aerosol cans) and it worked pretty good. I think I’ll try again on my next piece.
And to cut the polystyrene, I use a hotwire table.
All the best from Montreal !
Hi David,
Thank you for sharing your methods.
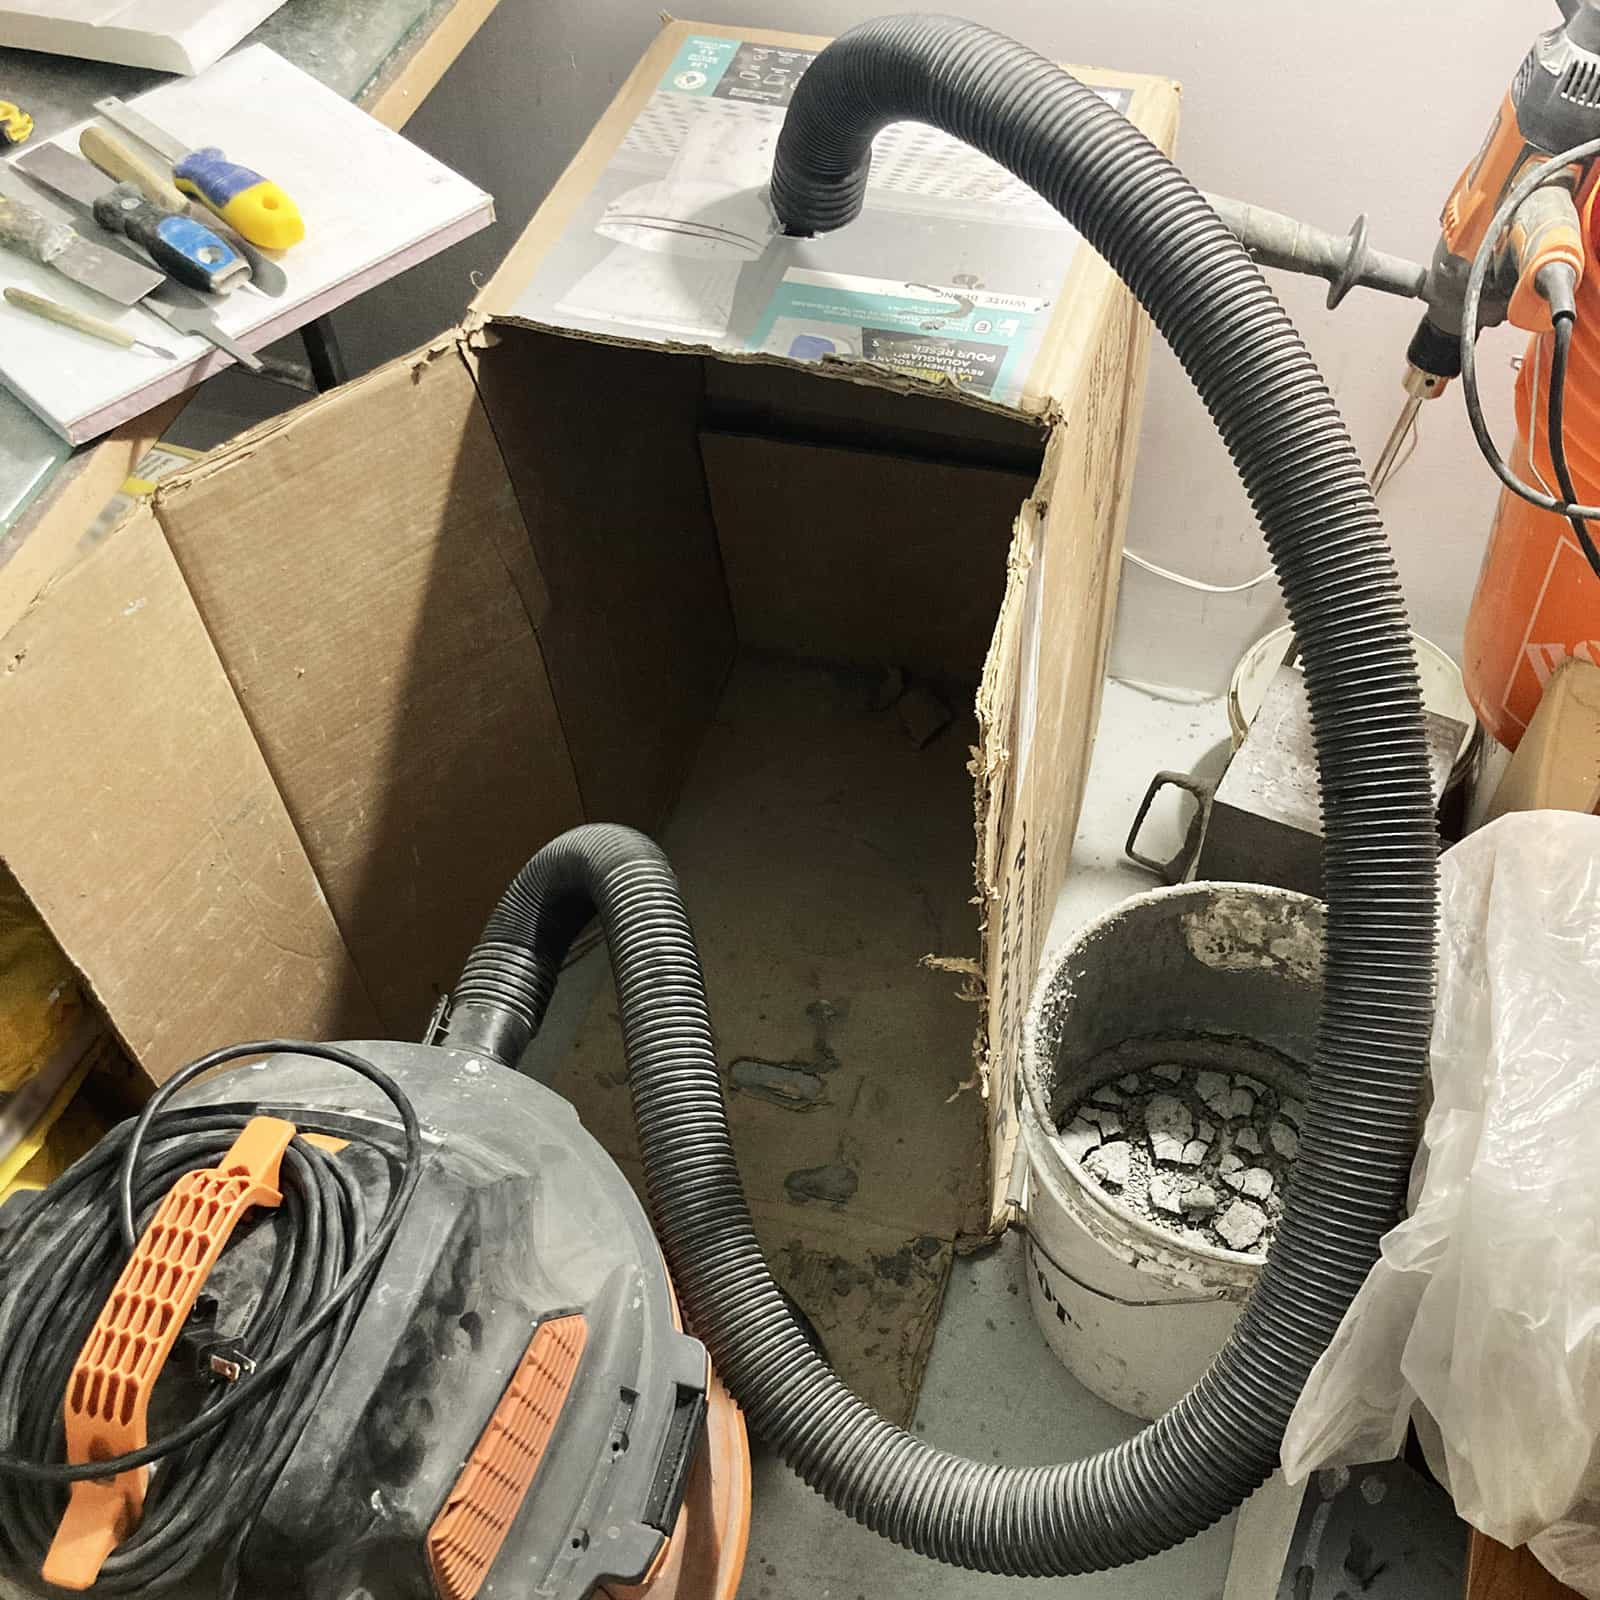
Plumbing wise what are your steps to avoid blockages or accumulation of sediment from clean-up? 🪣
Thanks!
Hi Magdala, that’s a very good question, I’ll add a note in the post. Don’t throw any residue in the plumbing as it will indeed eventually clog your pipes. I clean my buckets with as little water as possible, tranfer the water and the sediments in another bucket an let the water evaporate. Then I dispose of it as any dry waste. Cheers!
It’s interesting to know that concrete would be produced locally most of the time, and we should check the brands available in our area as well as ask for suggestions from sellers. My husband said that we might need to get pre-mixed concrete for the construction of our driveway once we hire a contractor. It would be a good idea to know how much they would cost so that we can prepare our budget.
Hi David,
Love your work! Very inspiring. I’m currently hoping to cast a mini maze sculpture in concrete and with this being my first time using the material, the information you’ve shared is extremely helpful. I have a couple of wee questions about your process:
– How do you attach the pieces of extruded polystyrene to each other to create the mould?
– Are there any alternatives to a hot wire table you might recommend for cutting the extruded polystyrene?
Many Thanks from Scotland!
Hi Eilidh, I’m happy to hear this information was helpful!
-To attach the pieces together, I use hot glue
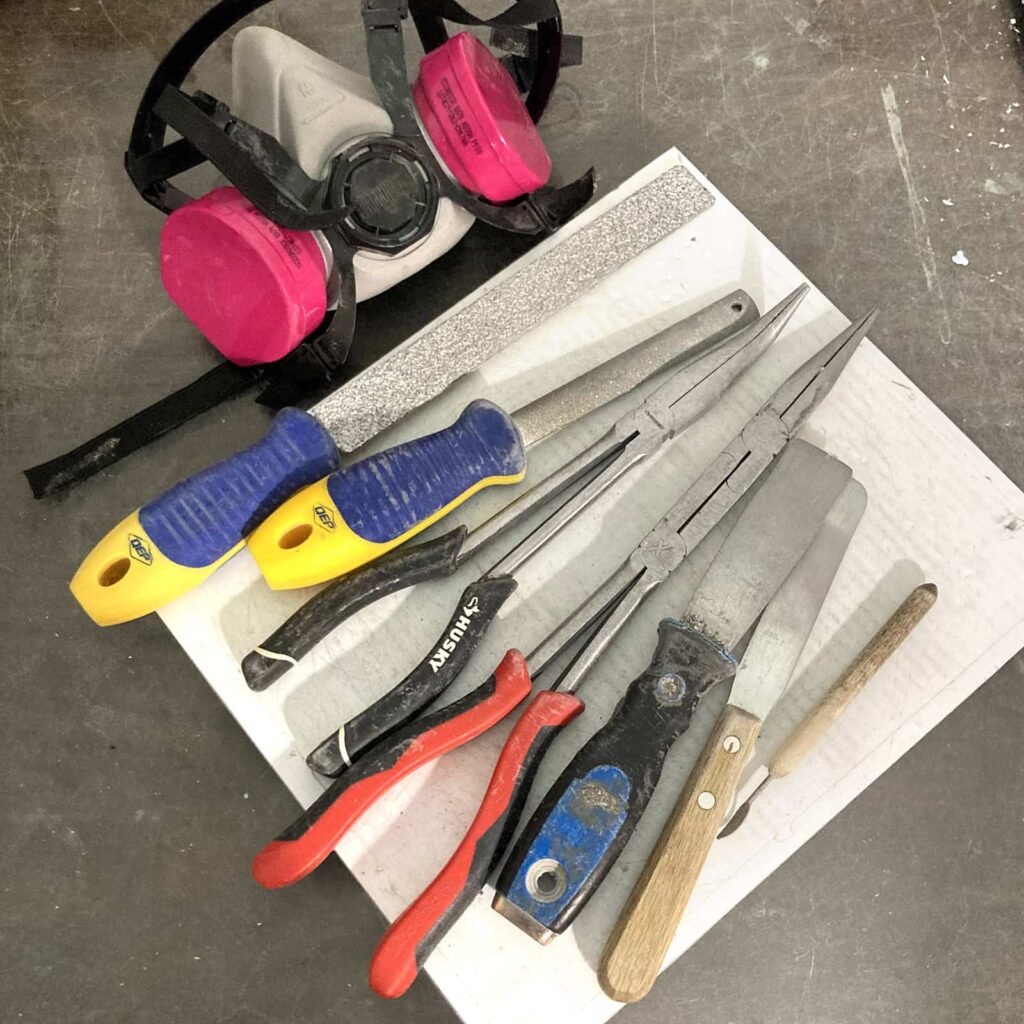
-To cut polystyrene, I also very often use a box cutter. Just don’t be cheap with you blades and change them frequently.
Good luck with your project and feel free to share a few pictures here when it’s done
Thank you for sharing your valuable information!
If I may ask a question
– how can the resultant concrete finish be a little bit shiny/glossy to look at?
Thank you
Hi Tejas,
I’m so sorry, for this very very late reply, I missed your message.
Concrete really takes the texture and finish from the mould, so if your mould is glossy, your finished piece should also be glossy.
Thanks!
Hi David,
Thanks for this post!
I recently did my own concrete pour using syka concrete, at a very similar scale to some of your own, yet my pour came out with an unseemly gradient to it? The bottom of some of my objects were grainy and not properly set, with a dark grey look to it, they would deteriorate when I touched them, yet the top of my pours had a nice smooth finish. Would you happen to know why?
The pour was done in an extruded polystyrene mould.
Thanks!
Hi John, thanks for your message.
I’m not a technical expert but from my experience, when concrete crumbles it’s usually when there was too much water in the mix.
In your case, since there is a demarcation, is it possible you shaked it a lot?
Best
David