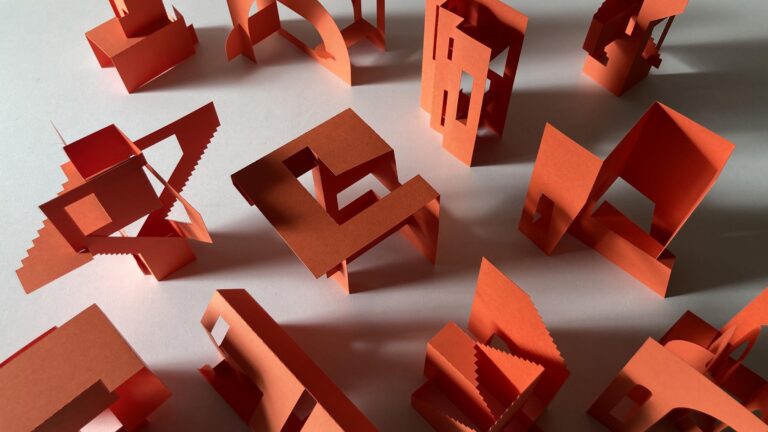
ASSEMBLING PAPER SCULPTURES
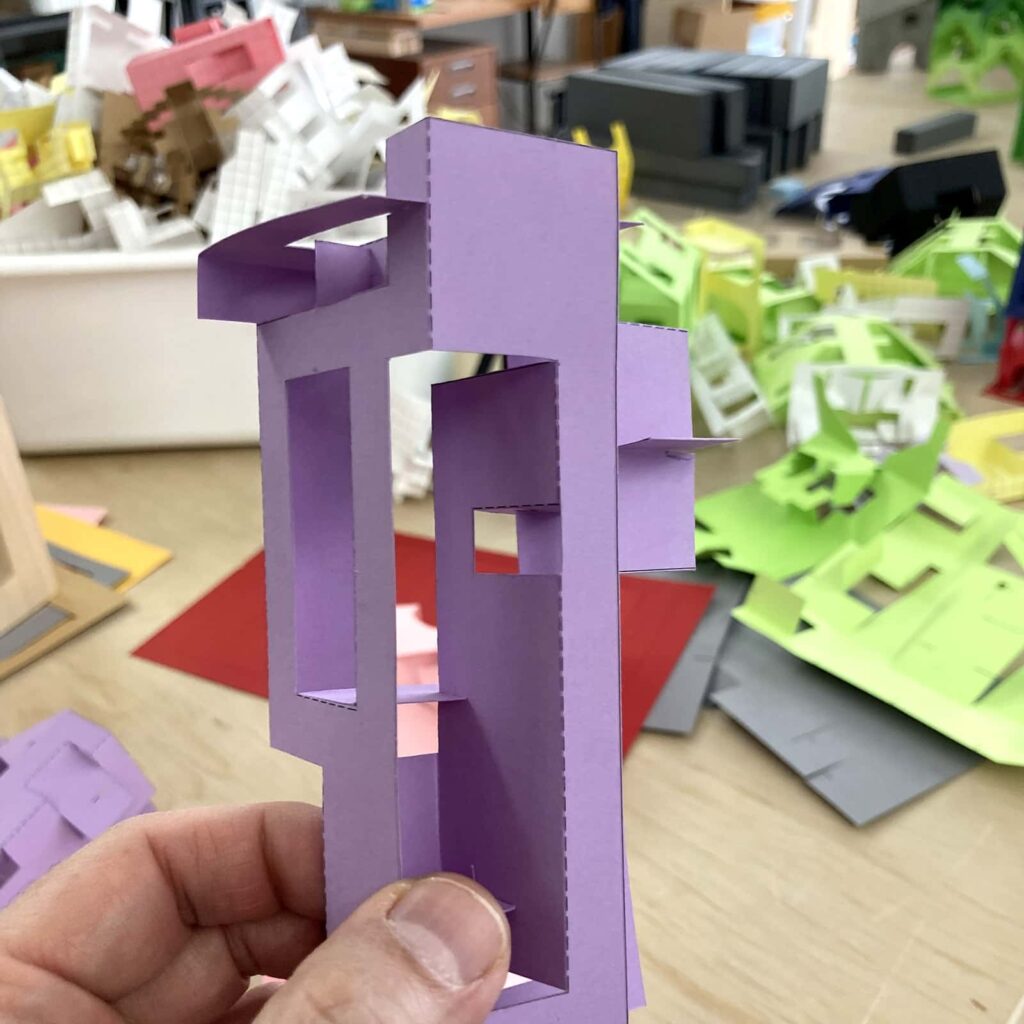
The lockdown, everyone has his or her story. Mine is mostly made of paper. During these stay-at-home days in my 3d floor apartment, I obviously couldn’t cast concrete, so I had to find other ways to keep active. I’ve had these thoughts for a while about using other materials.
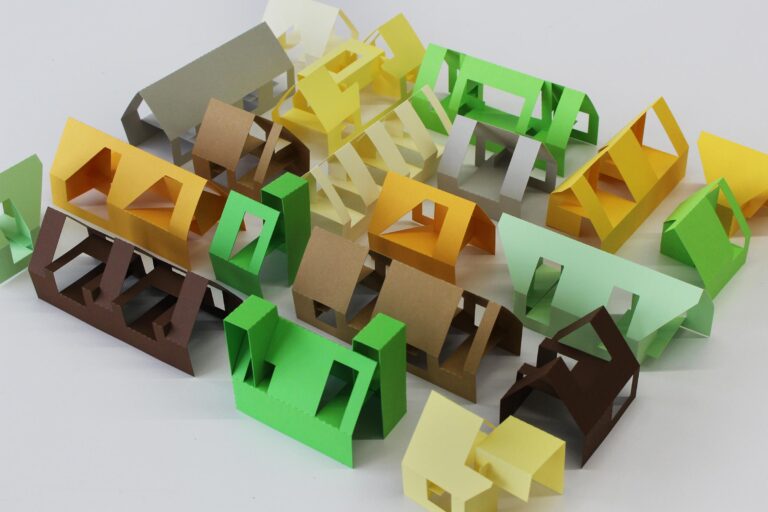
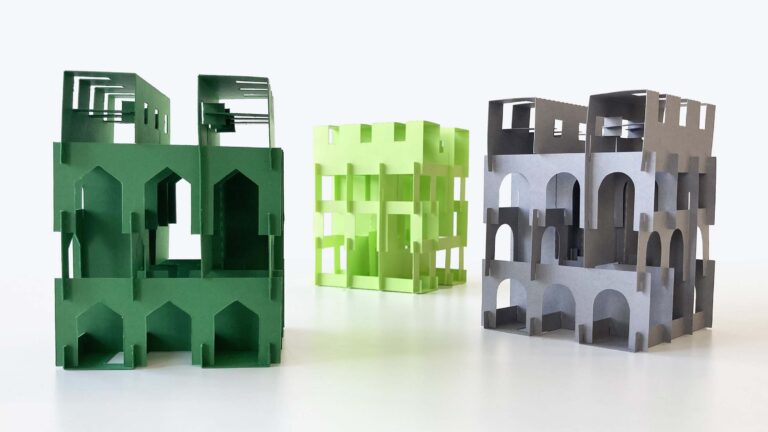
I’ve always liked paper, maybe in part because I did a lot of origami as a child with my Japanese grandmother, or because it’s very accessible and cheap. Concrete and paper, it’s hard to imagine two materials so diametrically opposed. My main challenge was to translate in paper the essence of what I was doing before in concrete, so when put side by side you could tell it was made by the same person.
When you compare the two approaches, one is unique and expensive while the other one wants to be accessible to everyone (you can make it yourself at home with just the recipe.) You can even use material from your recycle bin. I don’t say one form of art is better than the other, they’re just different.
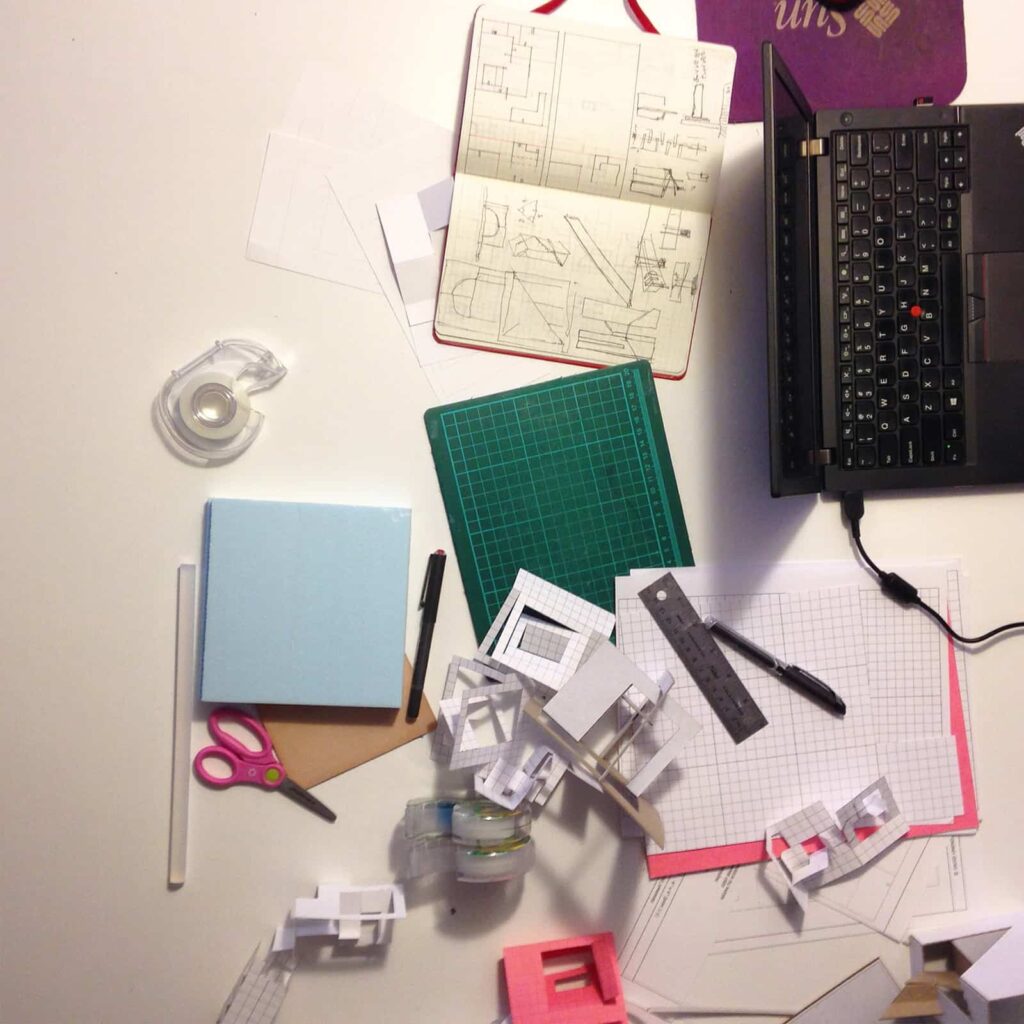
Self-Imposed Constraints
-Use a whole paper sheet, rectangle, or square
-Cut it
-Fold it
Why these constraints? I’m not sure, but I think that when you look at something, anything, the rigor of the process is visible and adds an intangible quality to the piece. At least I’d like to think so. But the main reason is probably just a personal challenge, just for fun !
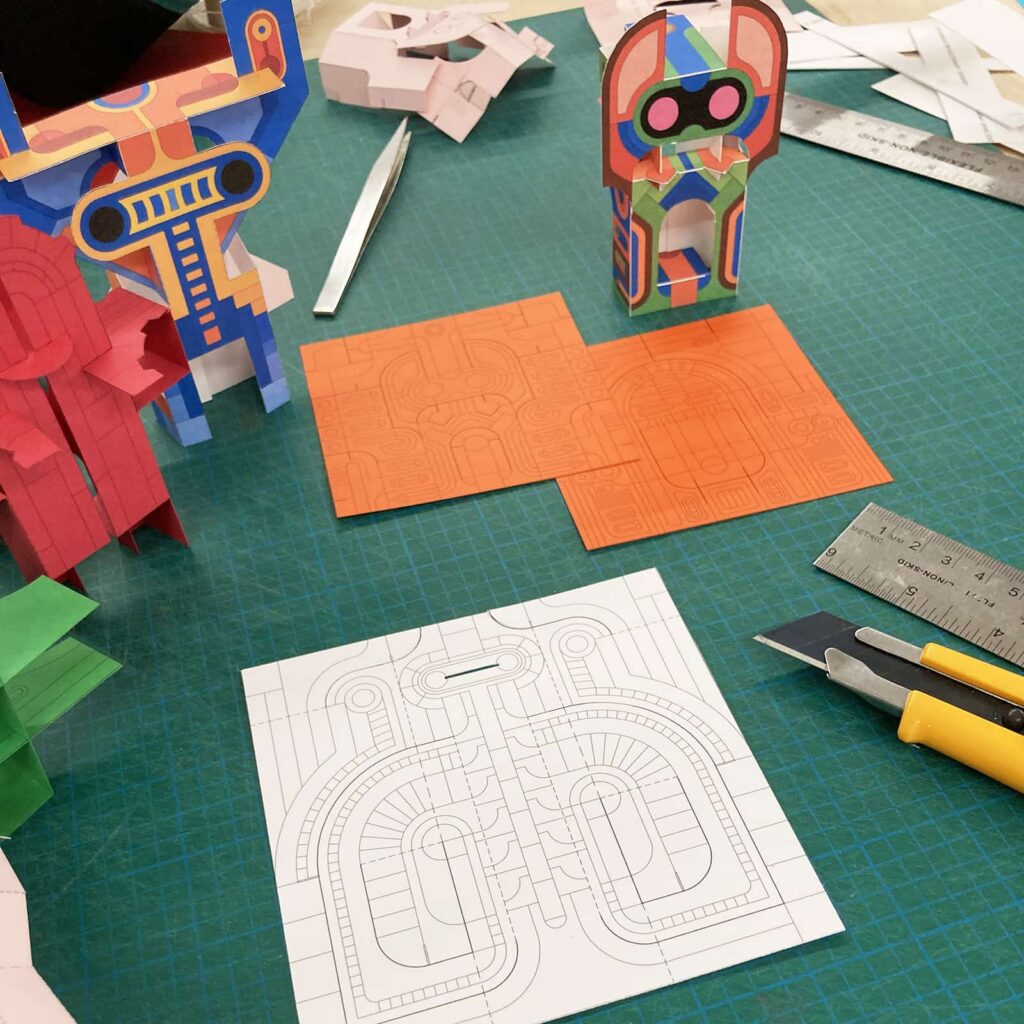
The Choice of the Material
When I say paper, I guess I should say cardstock paper. And when selecting which type to use, the most important factor is the thickness, expressed in weight. There is a ratio of the model size to thickness of paper to consider. Smaller pieces, thinner paper. Larger pieces, thicker paper. Thicker paper gives body and add sturdiness to the models, but is harder to cut and fold nicely
Here are the most common paper categories I use:
65 lb – 176 g/m2 – This is the minimum weight I would recommend; it’s good for small pieces, but medium-sized or large models get wobbly.
80 lb – 216 g/m2 – This is my favorite weight; multipurpose with a good balance of sturdiness and ease of use
110 lb – 300 g/m2 – Good for larger pieces, but hard to cut
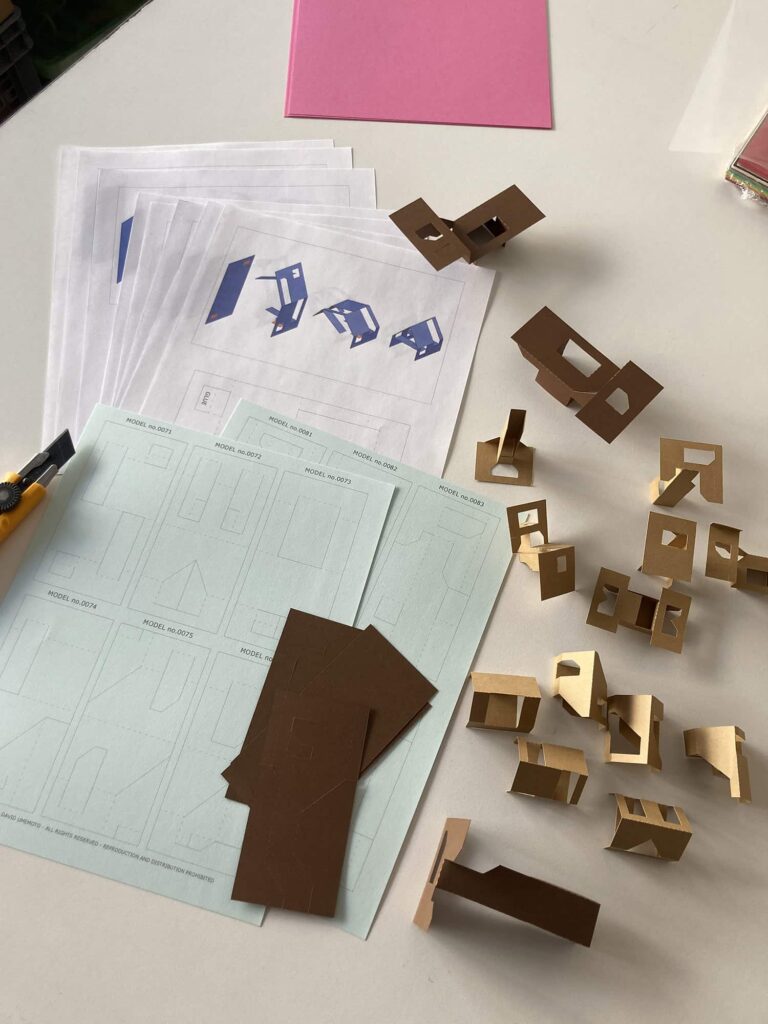
Man vs. Machine
If you are a very enthusiastic hobbyist, you can invest in a Cutting Machine. It looks like a printer but instead of having a printing head and ink, it has blades. Note that you can also install pens so you can use them as a pen plotter. I personally have a Silhouette Cameo that works pretty good. Another very popular brand is Cricut. Prices vary depending on models and sizes but I’d say the average model retails for around 300$.
All my templates come with a vector file that you can use with this kind of machine.
Folding Tips
To make nice folds on cardstock, you have to score it.
One option is to use your precision blade cutter and very lightly score the dashed folding lines. This works very well when you fold forward. When well done it makes a very clean fold. However, it doesn’t work very well when you fold backward. In that case, you would have to turn the sheet over and score it on the opposite side but unfortunately, you won’t see the fold line. What I do when I want to do that is punch a tiny hole with the tip of my blade at each extremity of the fold line and use them as start and end reference points on the back
Another option is to do what the machine does, which is perforating a dashed line. The fold can be a little less clean, but it allows folding both ways.
A third option is to use a butter knife. Use a ruler as a guide and press firmly the paper as you go.
Fold then unfold every crease first. Then start your final folding following the suggested order. Your angles will be more nice and sharp.
